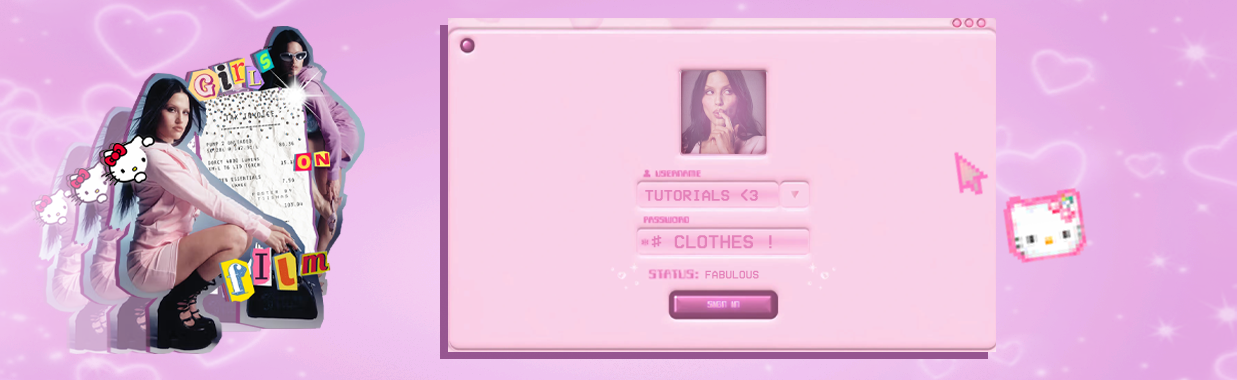
ᝰ clothes manip !
welcome to todays tutorial!
for today, I'll be teaching you how to do a simple clothes manip!
if requested, I can also give a more difficult clothes manip tutorial but for now, I want to start simple and build up to the hard stuff
now, bare with me while I go over everything and give as much detail as possible.
if I give too much detail and you get confused, feel free to ask me to clarify at any time!!
disclaimer: every graphic is different
and results may vary
based on the outfit chosen and the
models position.
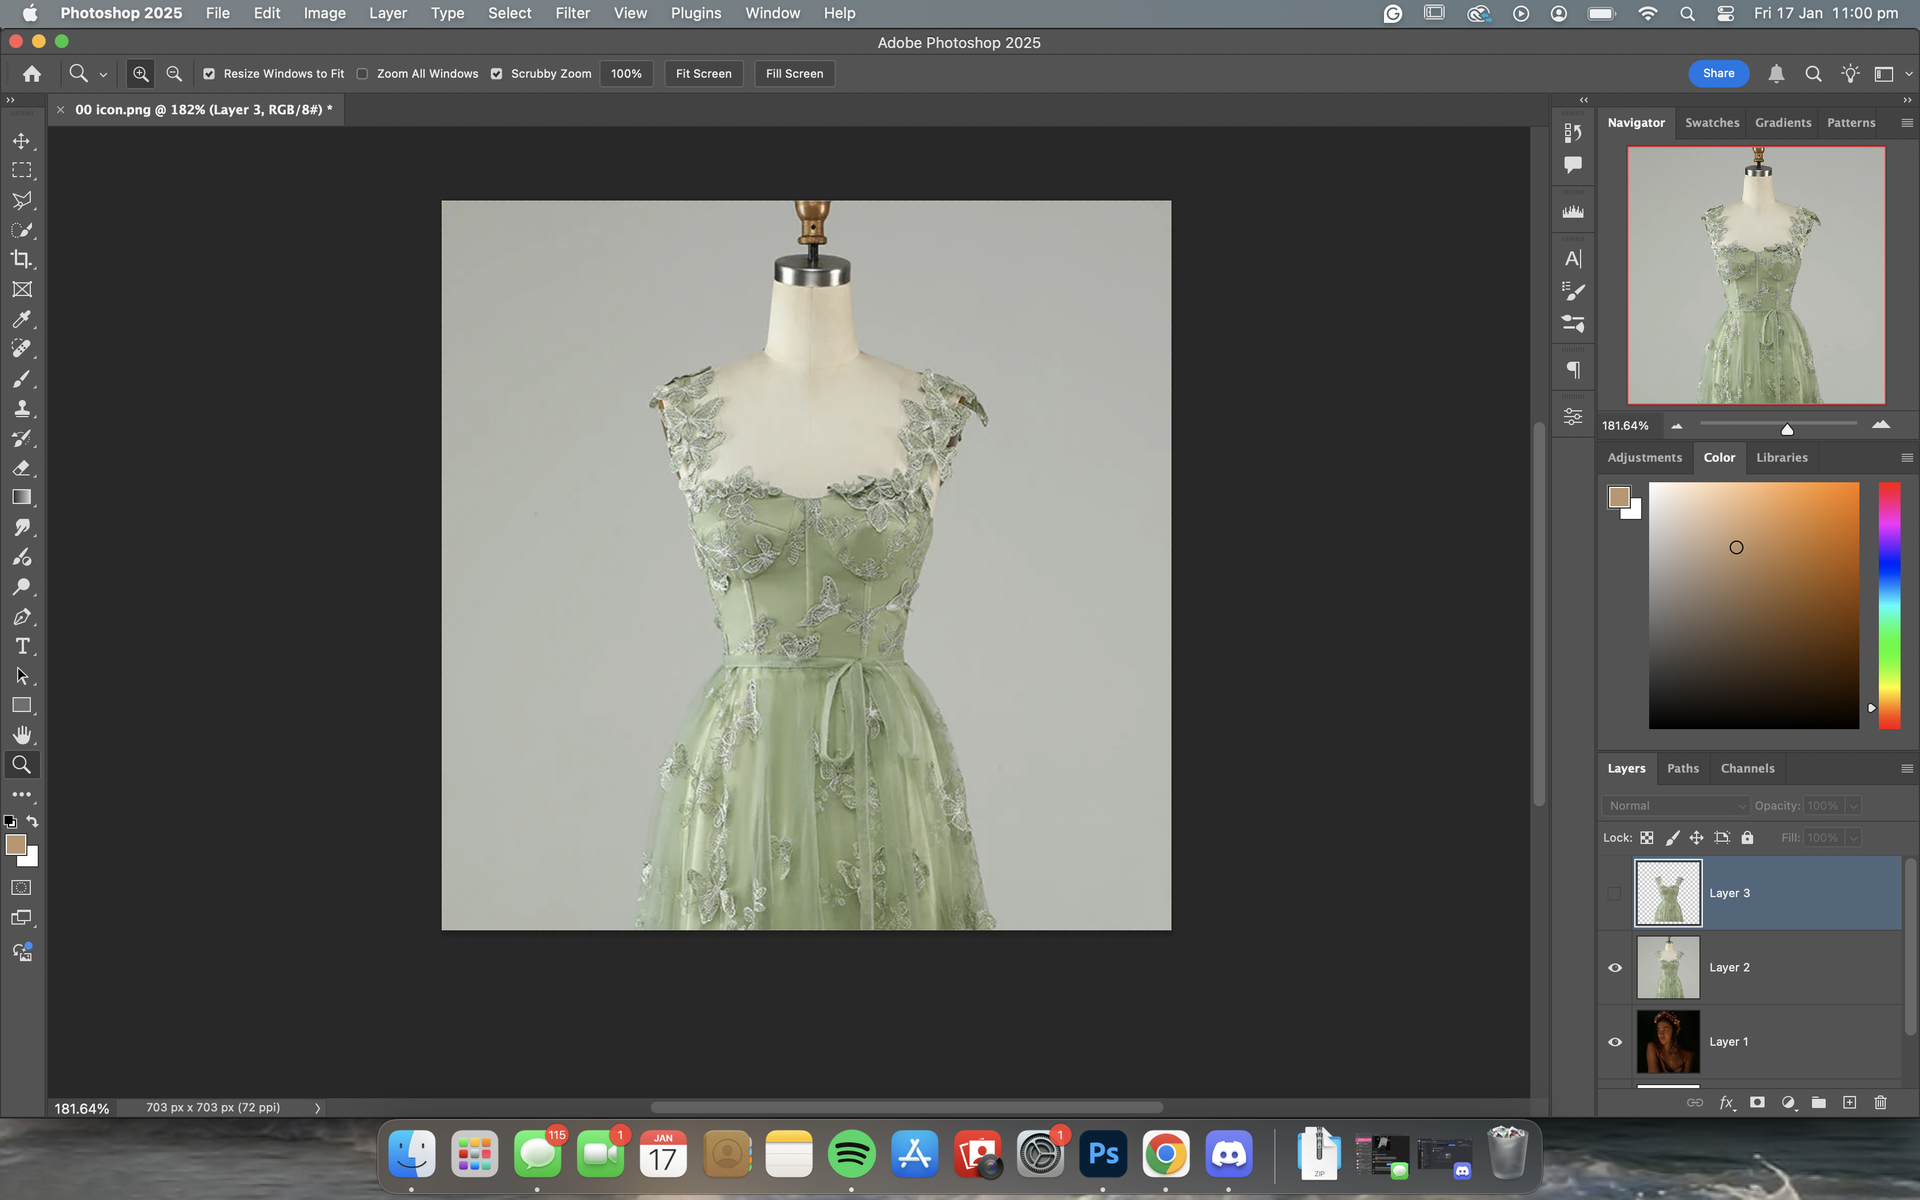
🎧 step 1:
get a picture of your
desired article of clothing
for me, I selected this picture
of this dress. but, it can be any
piece of clothing you want
🖇️ step 2:
next, carefully cut out the
clothing from it's background
you can do this using the lasso tool
or the pen tool (or whatever tool
you use)
once you've done that, I like
to lower the opacity of the
clothing and position it
over the model like so.
at this stage, the clothes
doesn't need to look like it's on
the body perfectly. this is more
about sizing etc.

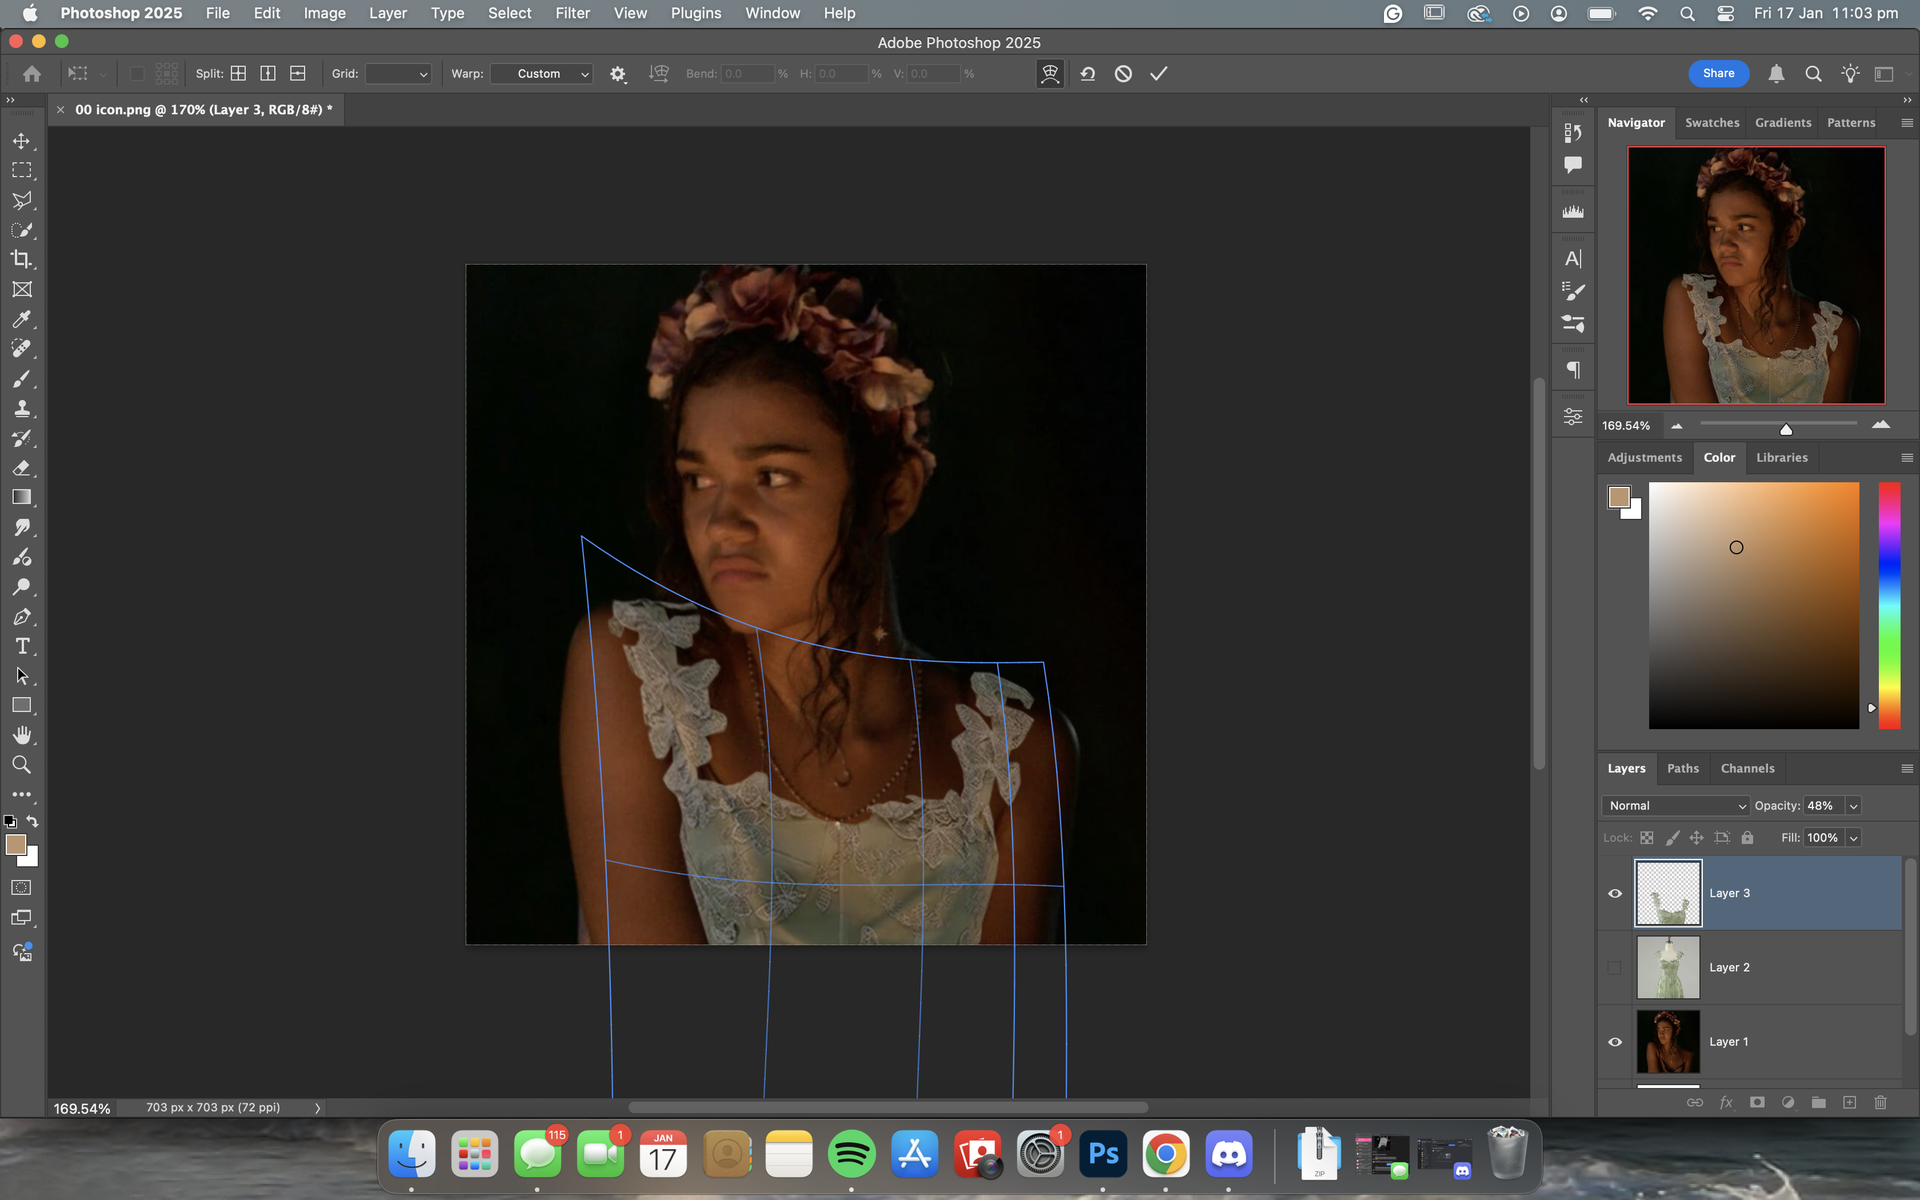
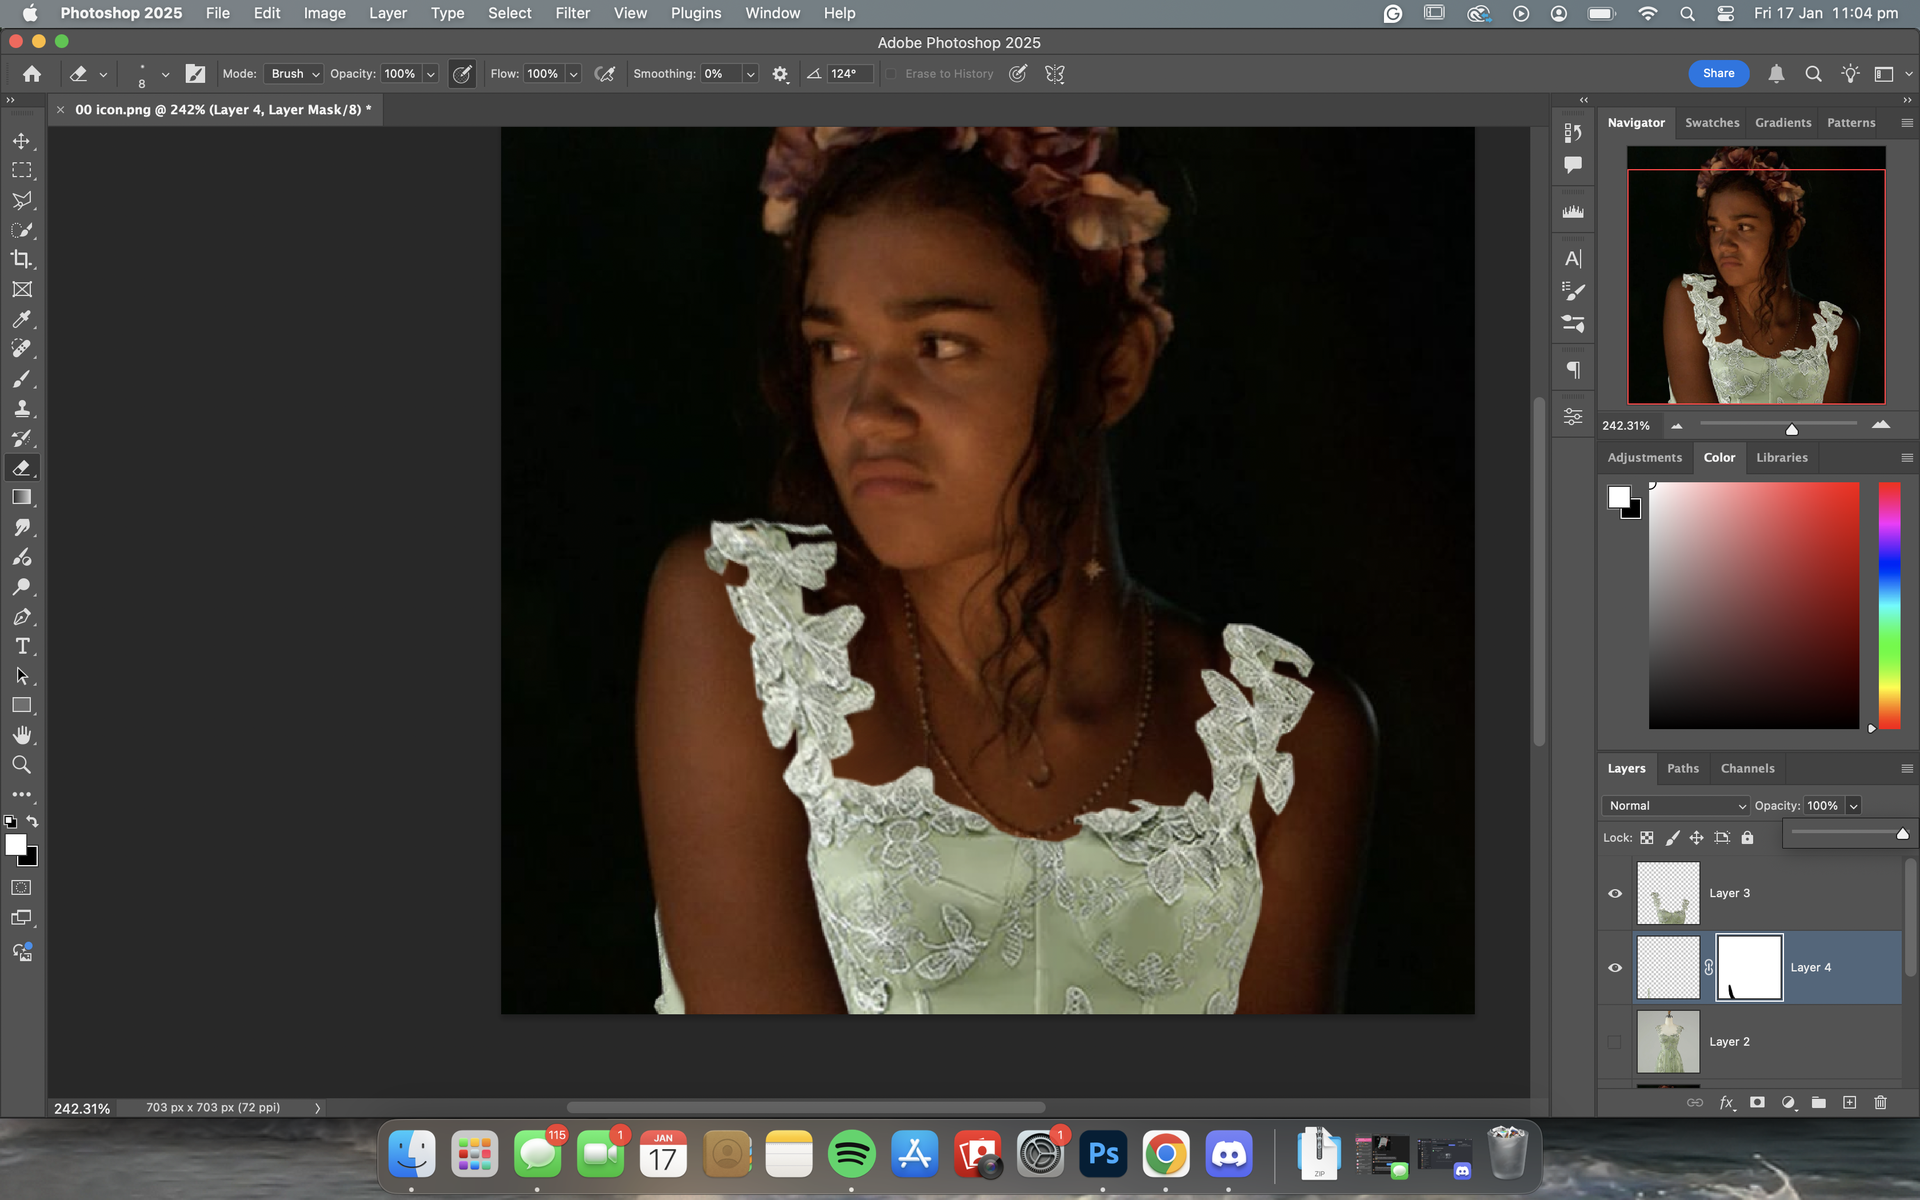
🫧 step 3:
after I've done that,
I right-click and select
'warp' as show below

then, i use the corner guidelines
to pull the clothes in the
right direction.
for this, i pulled the straps
of the dress up to where her
shoulders are.
like so:
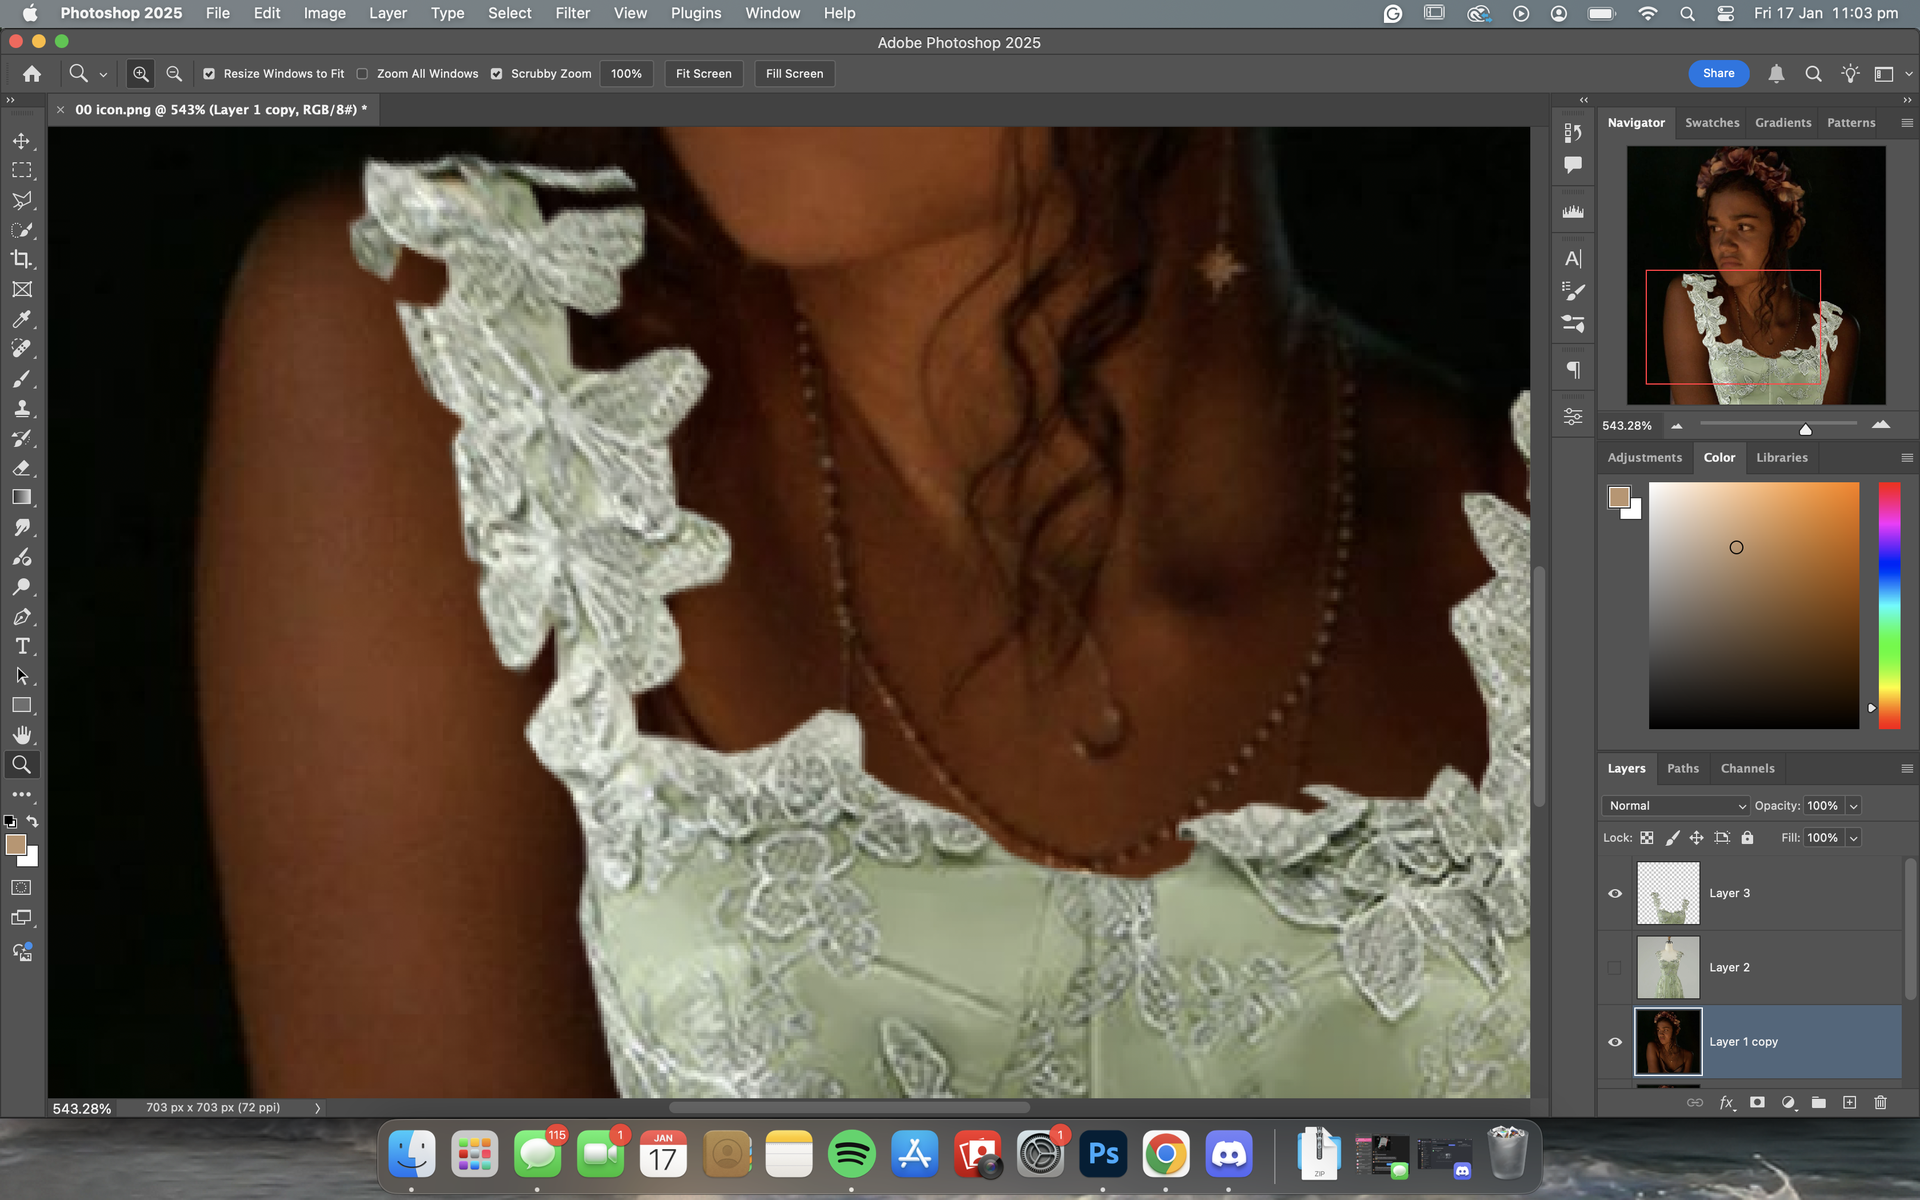
💿 step 4:
once that is done, you can go
ahead and put the opacity back
to 100%.
i then go and select any part of the
clothes I might need and copy
the selection.
for this case, I needed the edge
of the dress beside her arm.
so, I went ahead and repeated
the same steps.

🎧 step 5
then, i go back to the layer
with the model and just
clean up any areas where
you can see the original
clothes poking through
I do this mostly using the
smudge tool or the spot
healing tool.
i also erase parts of the
dress that overlap on the arms
or anywhere that it shouldn't
be etc
before:
after:

(hard to see but I got
rid of where you can see
her original dress
near the corner hehe)
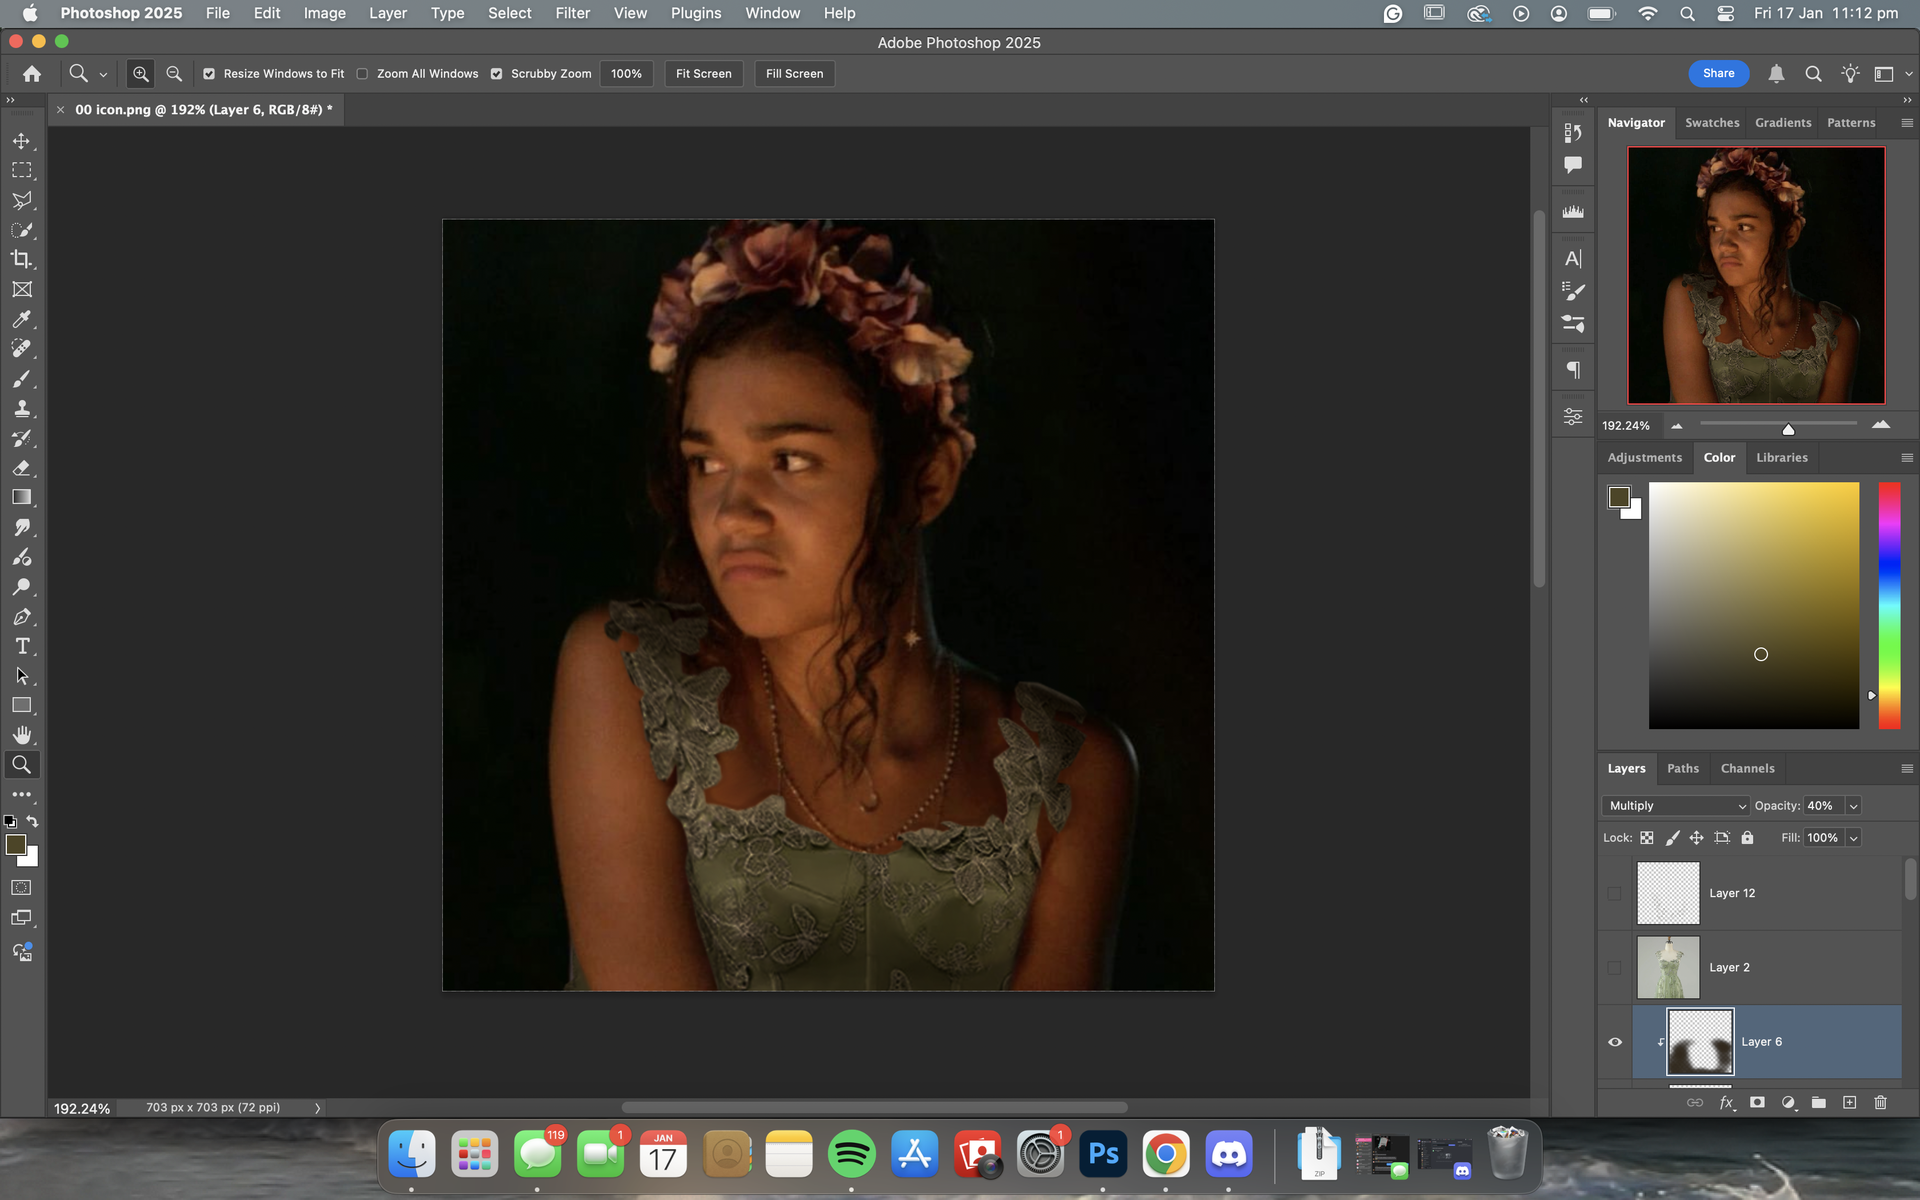
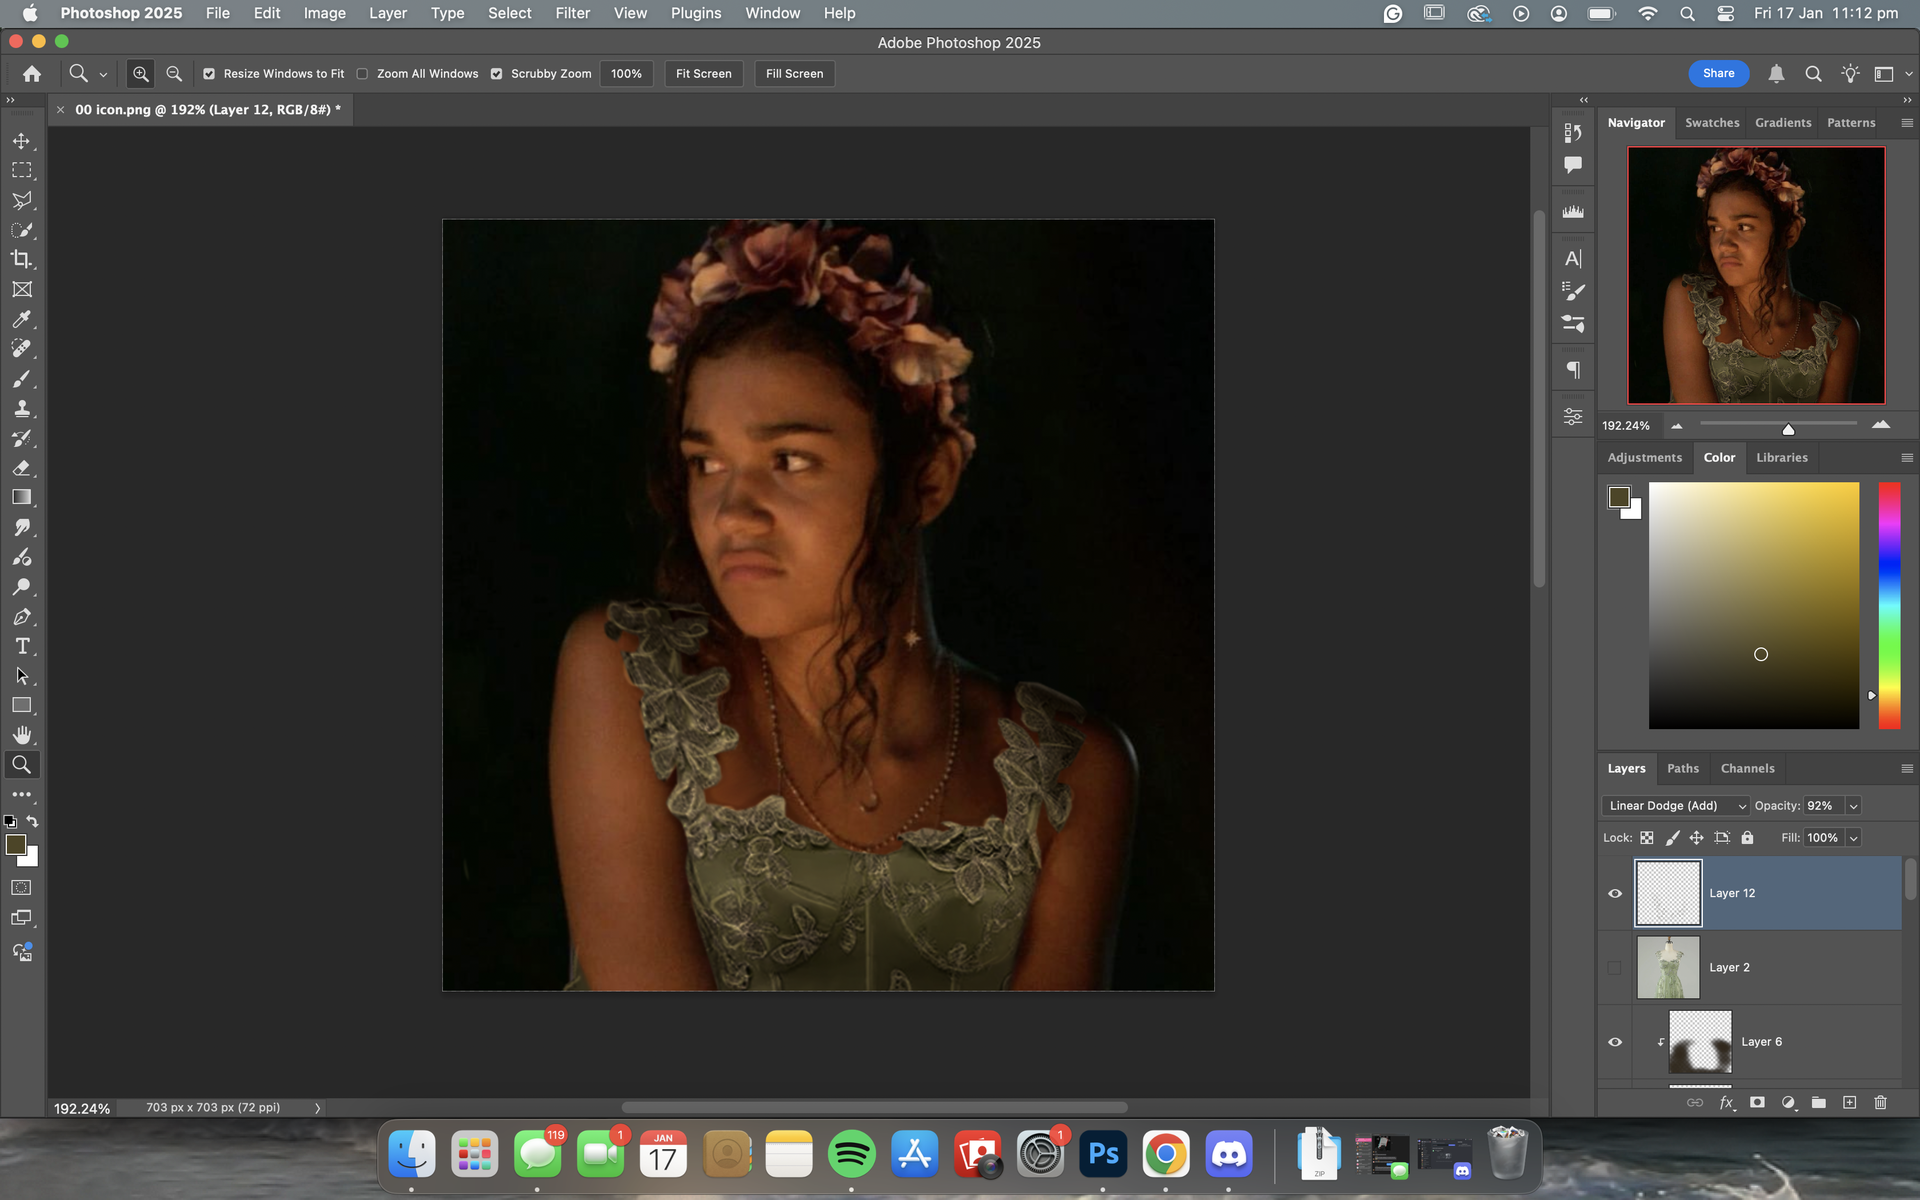
🖇️ step 6:
this step is where
it all starts to look coherent
at this point, I then match
the colouring and lighting
to the model
for this picture, I tinted the
dress into a warmer hue using
photo filter and lowered
the brightness as well as
adding shading to the dress
an easy way to know where to
shade is by seeing where the light
is coming from and where could
be casting shadows
I create shadows by
selecting a colour from the
object I'm shading and then
using a layer on multiply
and playing with opacity
I make highlights the same
way but with the layer on
linear dodge (add)
for this one, I shaded the lower half
of the dress as well as the right side
and where her arms overlap.
it should have your piece
going from this:
to this
🫧 step 7:
this step is optional but
I find sometimes it just makes
it pop / look better to me
but, make my highlight layer
(I explained my process in the
previous step) and I use my
brush with a small size and
gently go over the lines in
the dress with the brush
like so:
and that's it! you're done
here's my finished product:
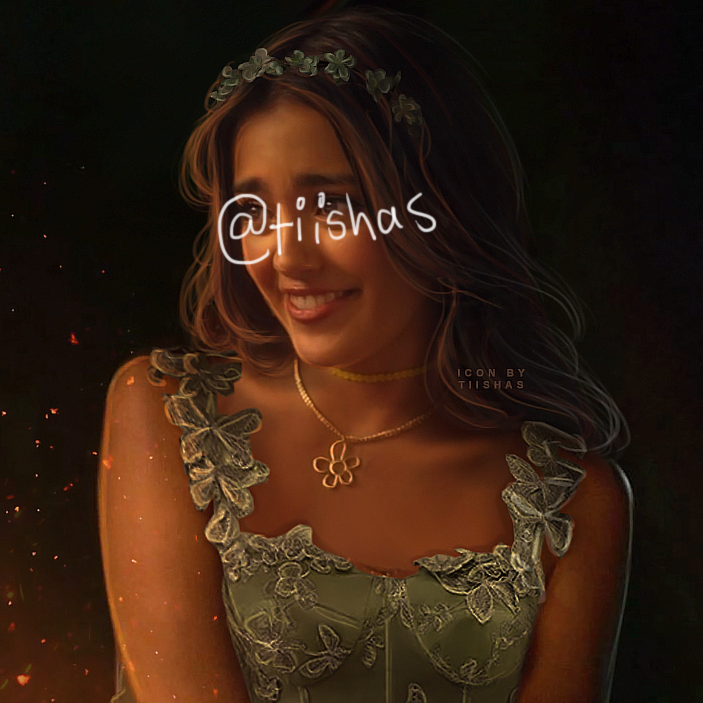
i hope this has helped in
some way and let me know
if you have any questions
or need any clarification !

Bạn đang đọc truyện trên: TruyenTop.Vip