ᝰ hair !
welcome to todays tutorial!
due to being the most requested tutorial, up first we have hair
now, bare with me while I go over everything and give as much detail as possible.
if I give too much detail and you get confused, feel free to ask me to clarify at any time!!
brushes I use:
I use these brushes but unfortunately
they do cost Deviantart points (aka money)
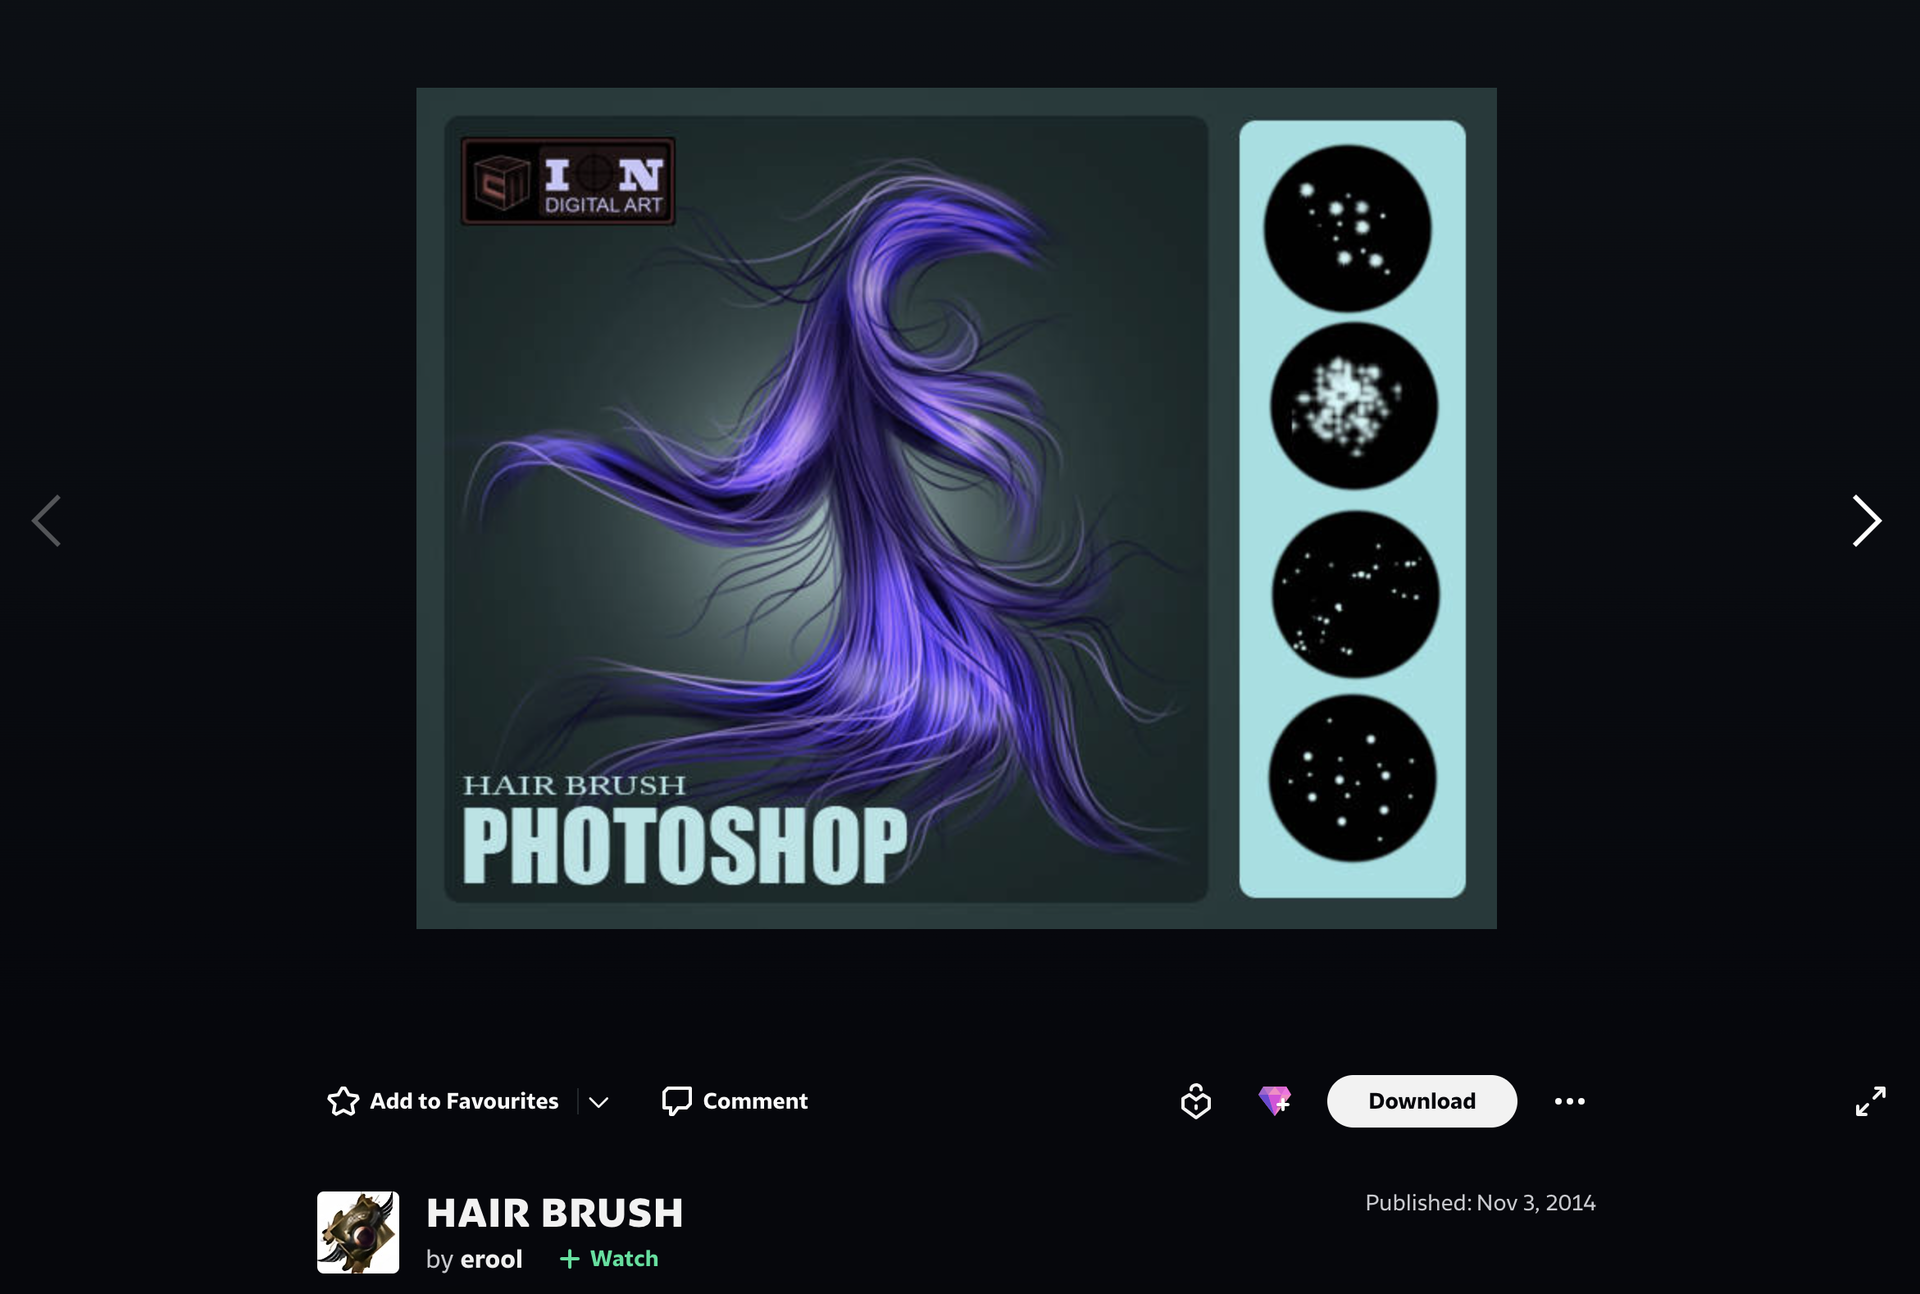
however, there are thousands of free hair
brush sets on deviantart.
if you need help finding any, let me know!
FYI, you do not need the same
brushes as me to complete
this tutorial.
it just might not look exactly
the same which is not
a bad thing !
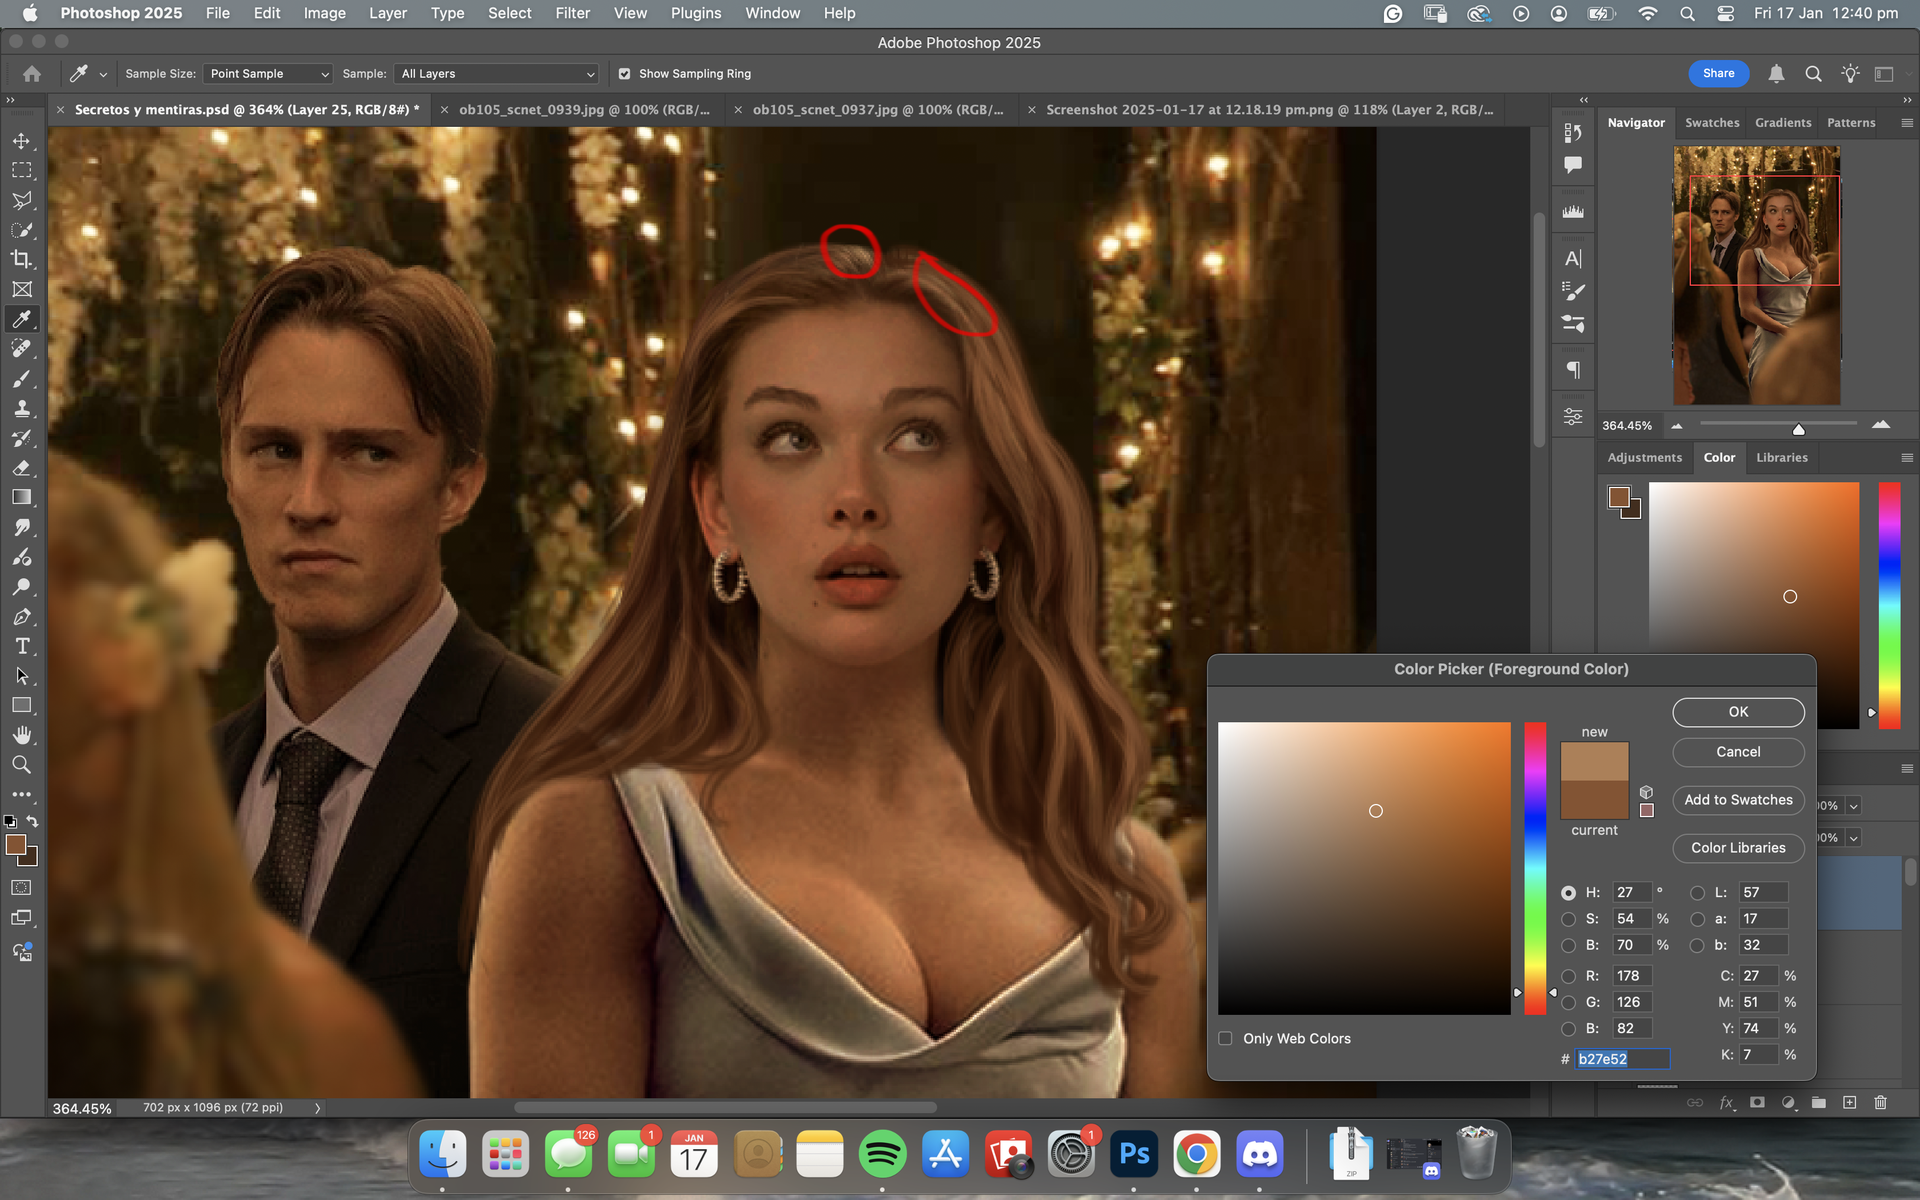
🎧 step 1:
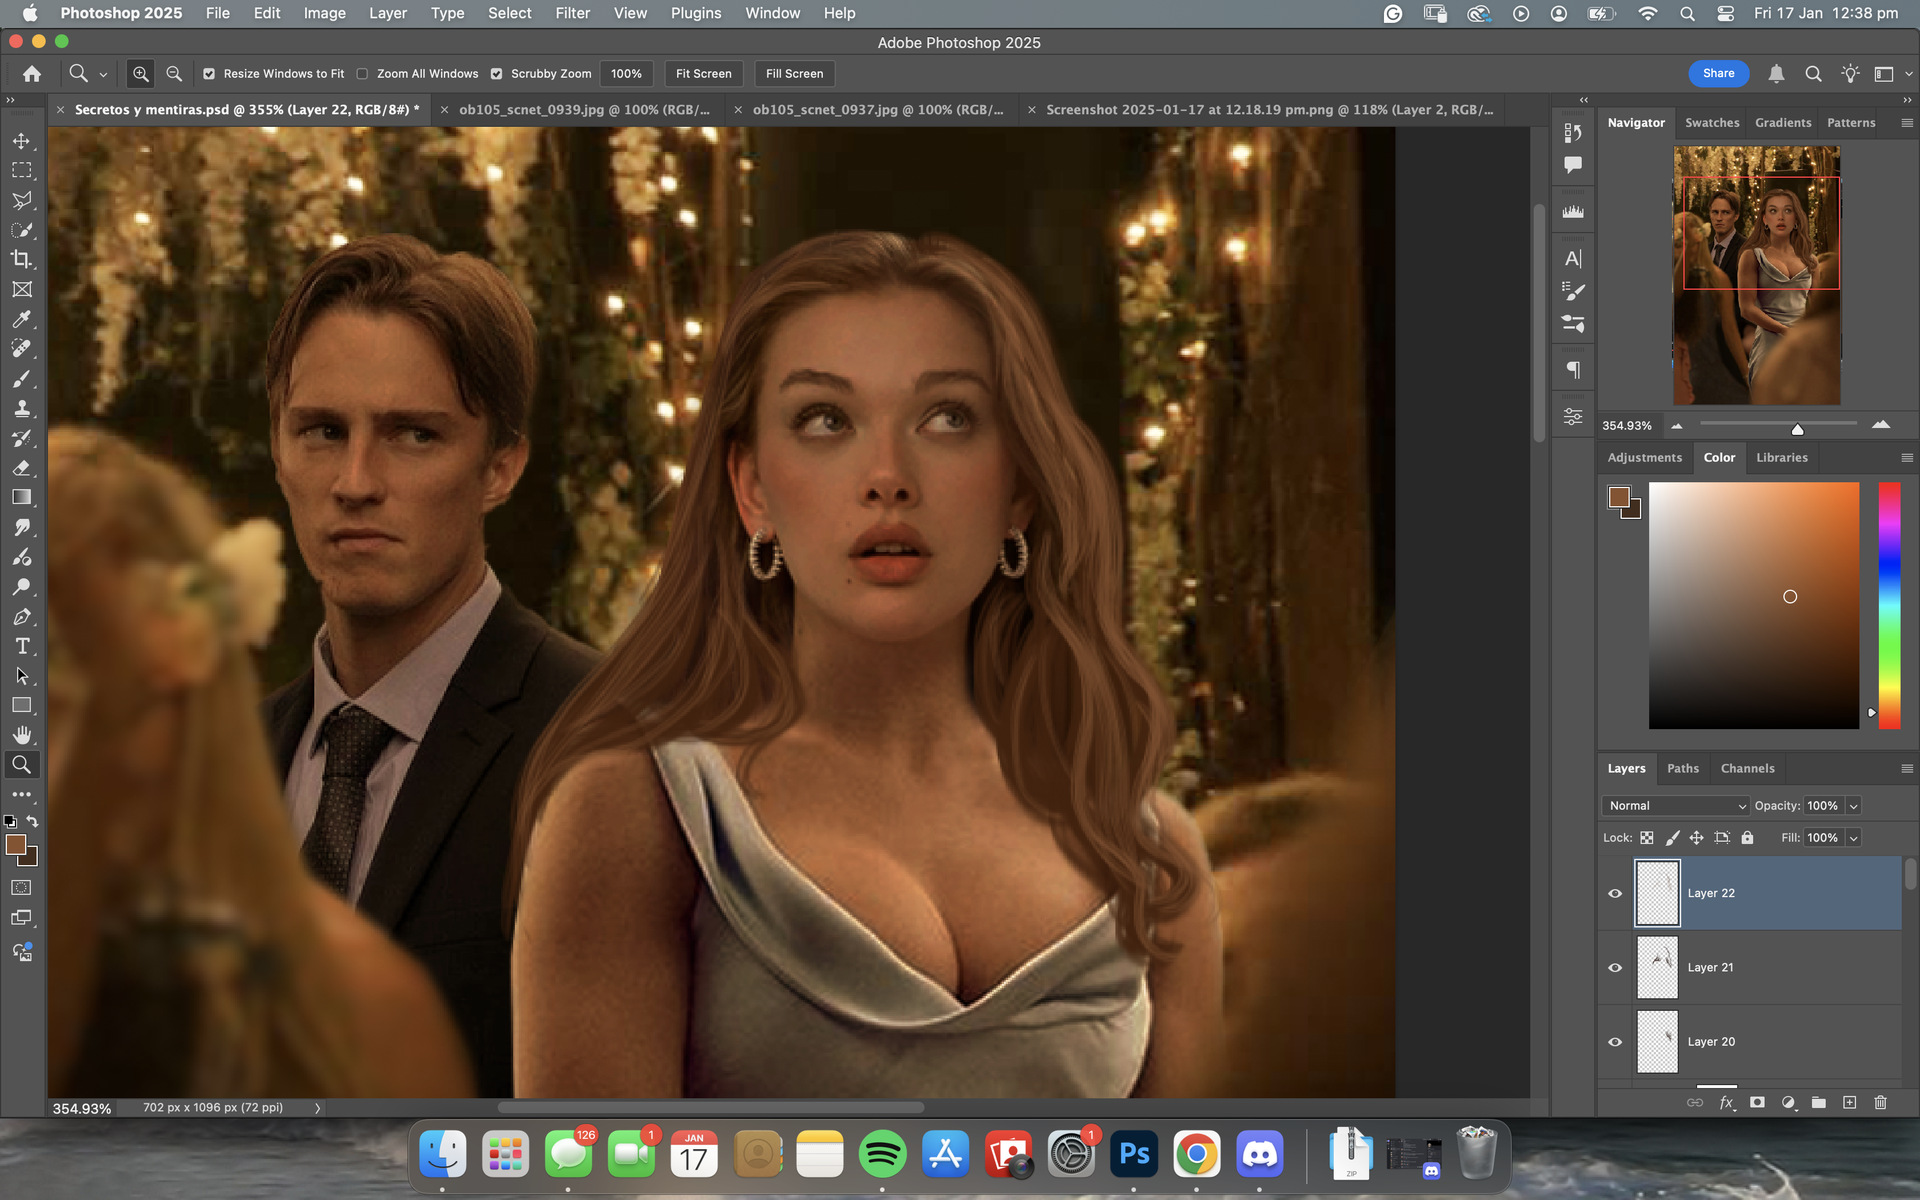
first up, I typically select a dark or
medium colour from the hair on the model.
typically, the area circled is the best
to colour drop from.
but please remember,
each step may vary
depending on the model
you're using !

🖇️ step 2:
I then use this colour to draw the ends of the hair
and sometimes any edges from the head that need
to be filled or just to blend.
I've drawn some red lines so show you where
I've drawn and to better see the flow of the hair.
depending on the texture and
style of the hair, changes
how you do the ends.
I've gone for a wavy style for
this tutorial meaning I've added
curves and flicked in the ends

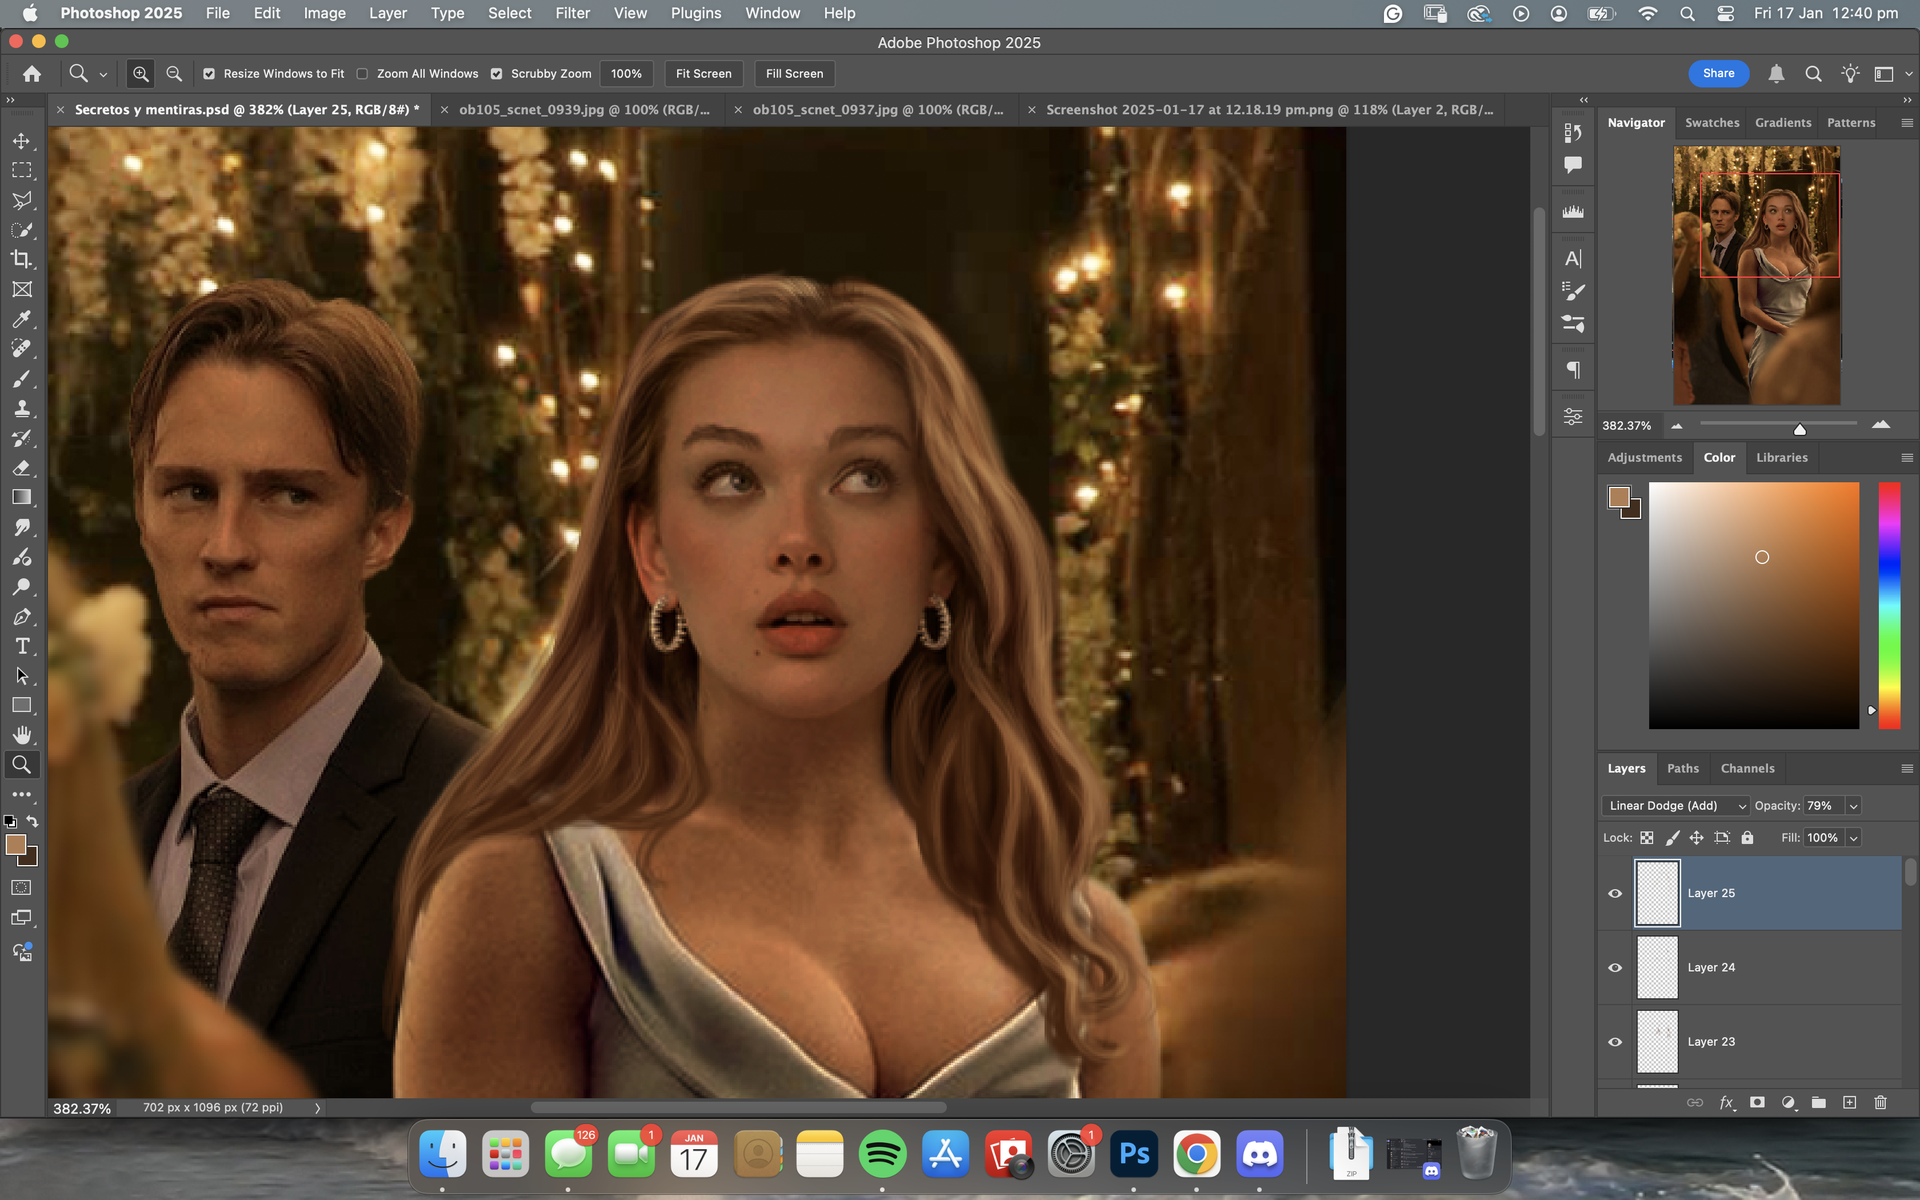
🫧 step 3:
after this, I select a lighter colour from
the hair but not too light.
below, I've circled an example of
what areas to colour drop from

💿 step 4:
I go in with the lighter shade and basically
go back over where I did with the darker shade,
using the brush less generously so that the
dark colour still shows through
feel free to layer this colour as much
as you want towards the edges or towards
the parts of the hair where light is touching.
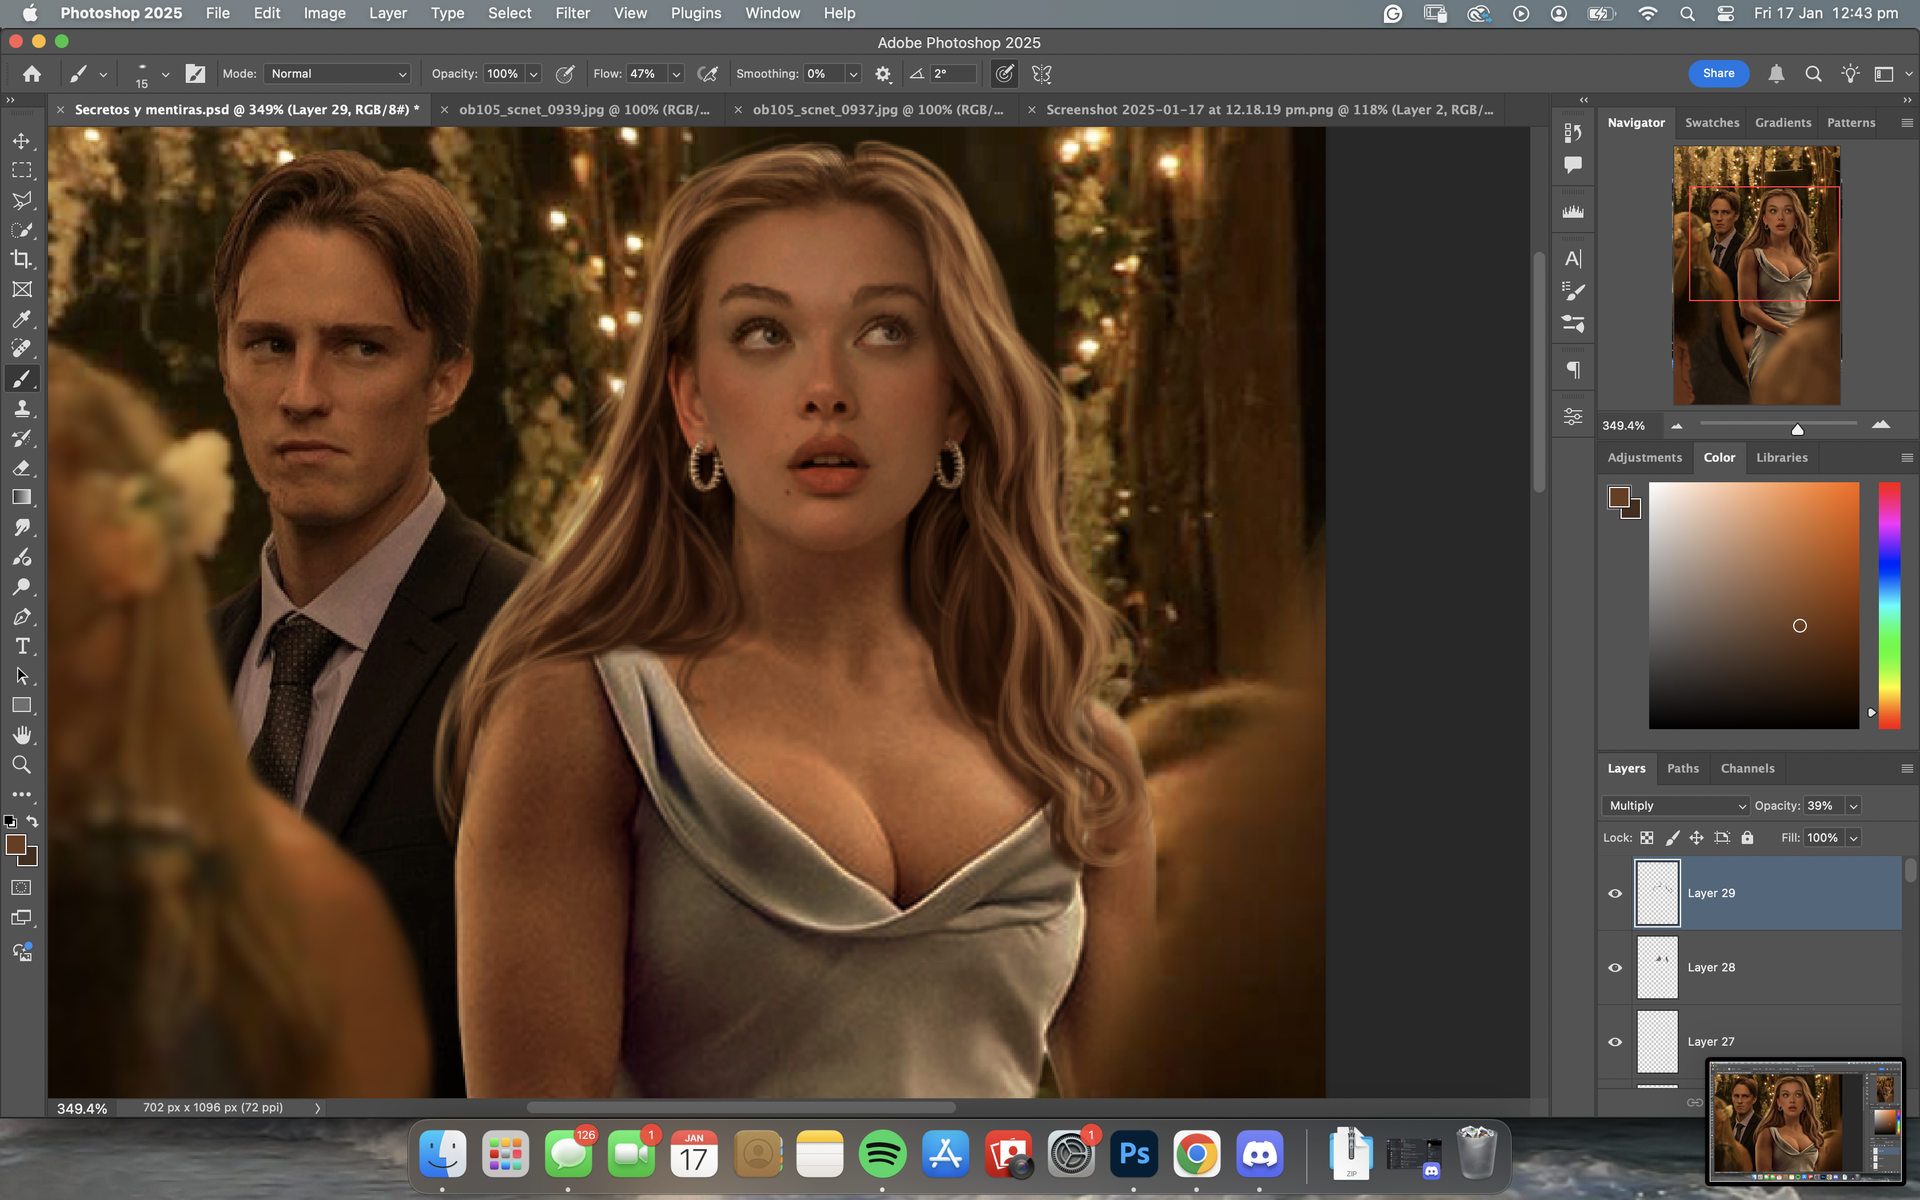
🎧 step 5:
after that's done, I select this brush
I made myself, here are the settings:

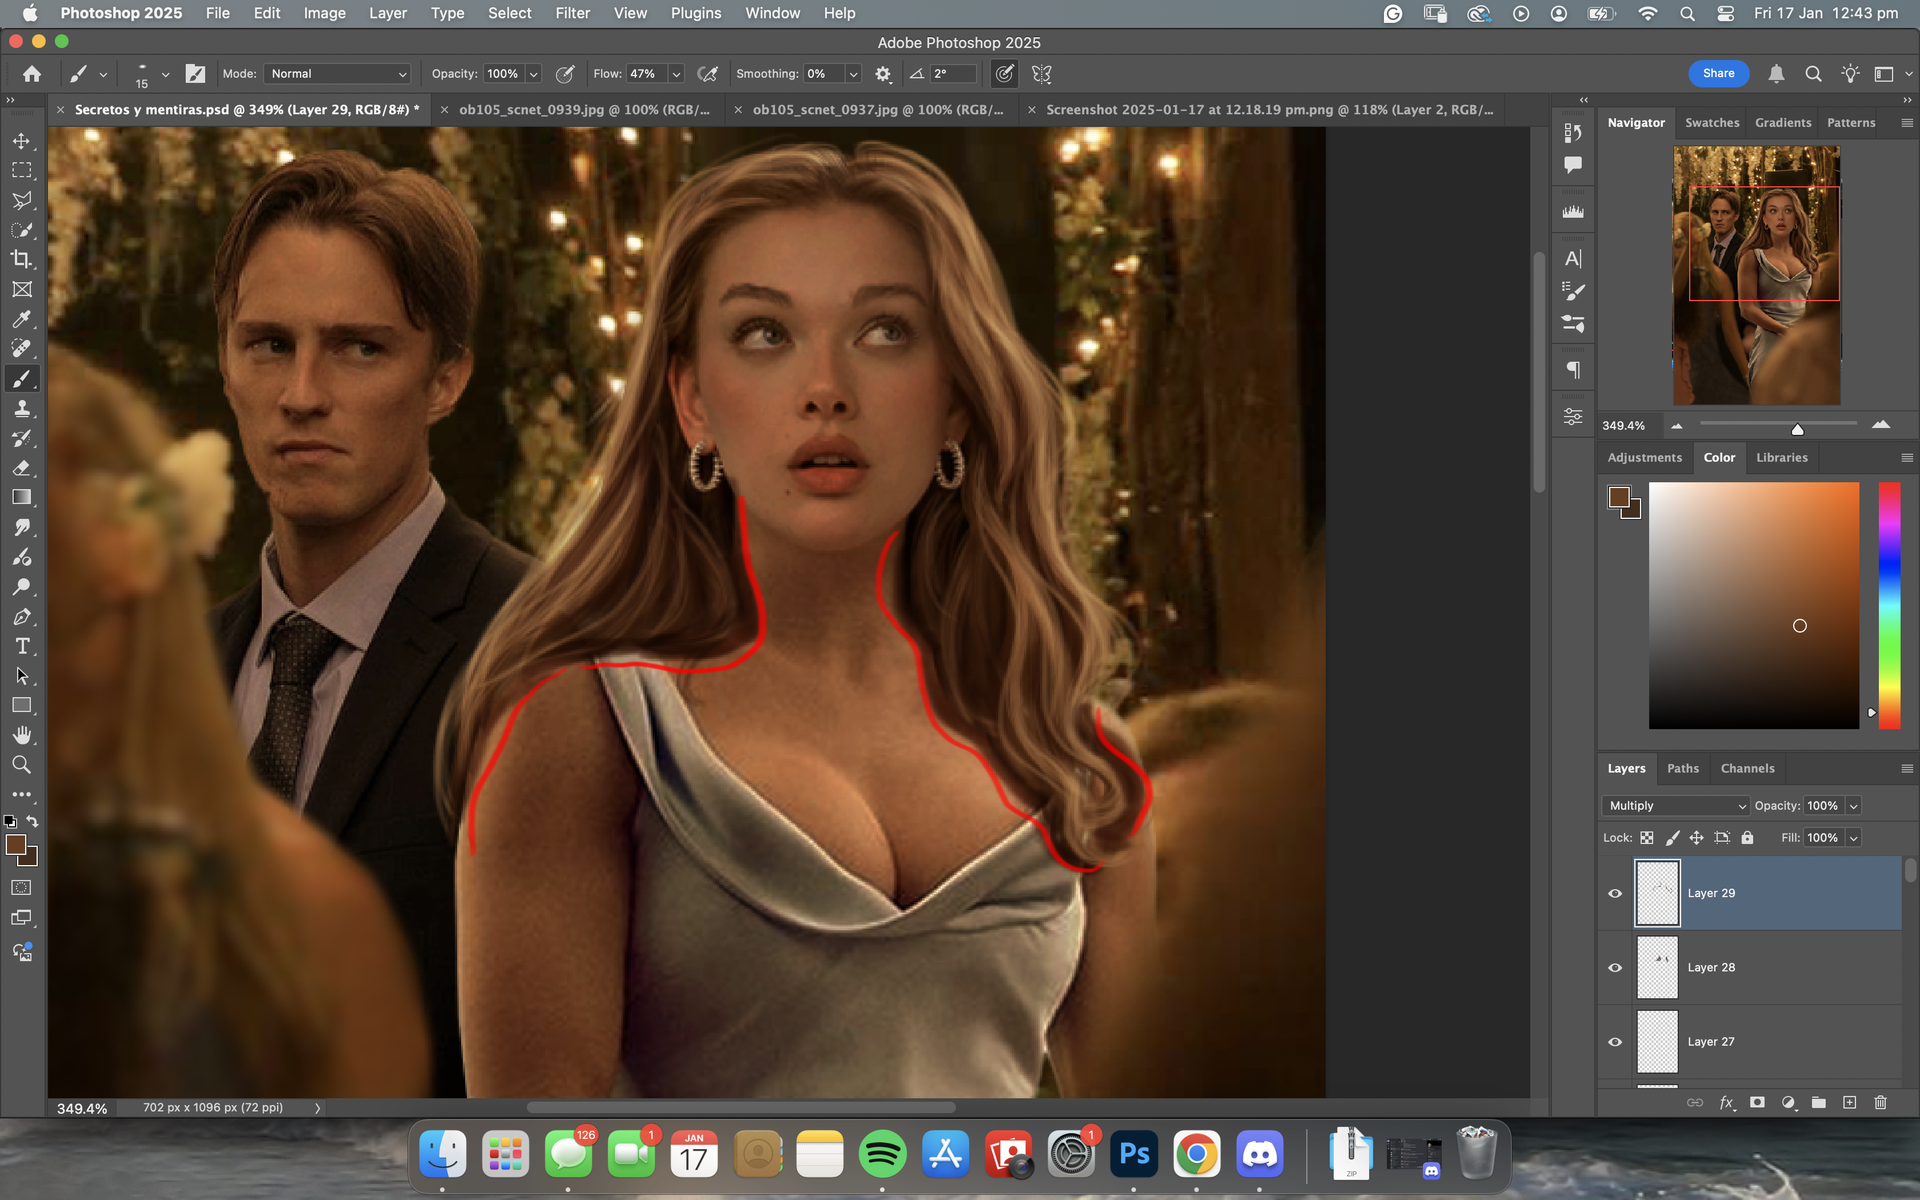
and then I make a new layer on the setting
multiply and add shadows to the hair
I then make a new layer on linear dodge (add)
and create highlights.
here are the guidelines:
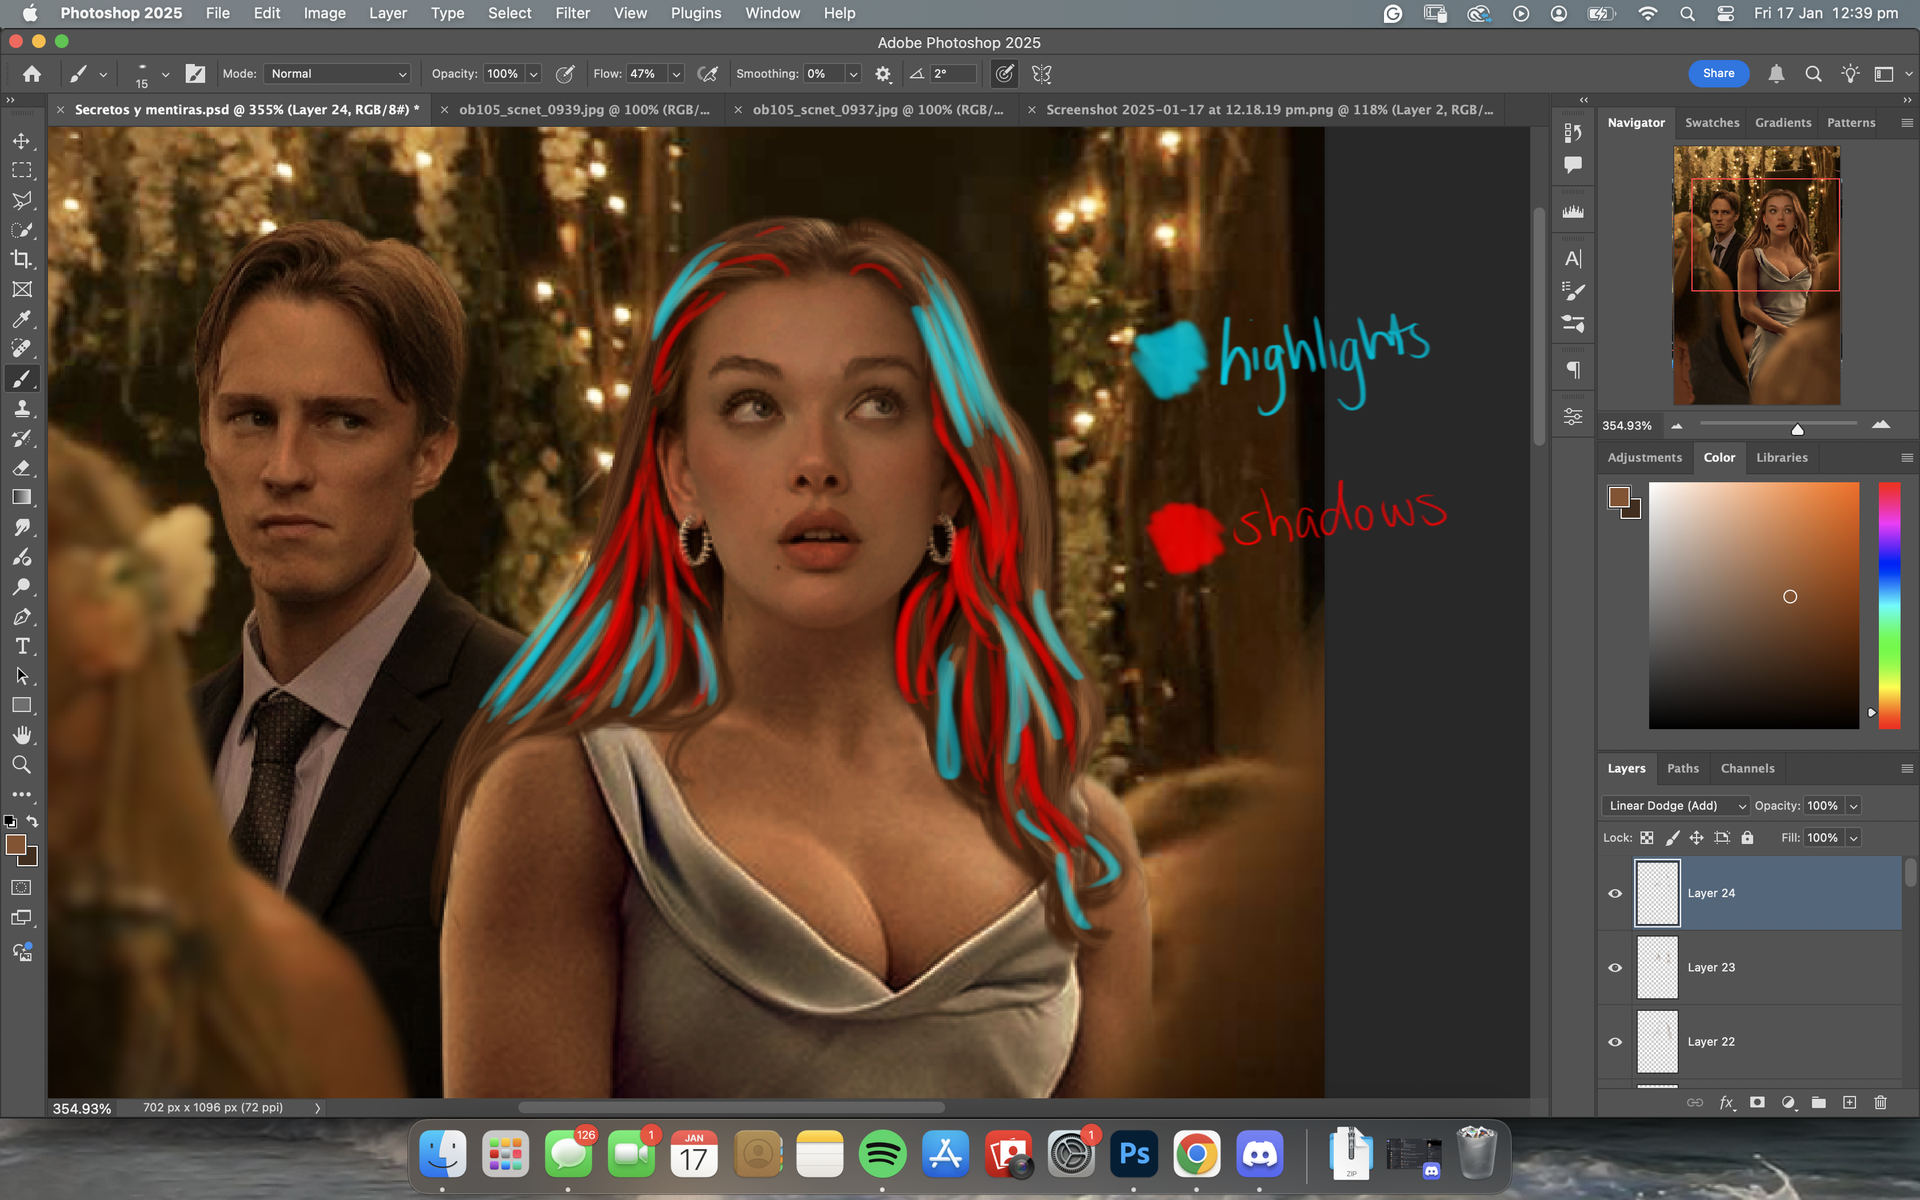
should look something like this:

then, just fiddle with the opacity and feel
free to erase some of the edges for blending
until it looks good
🖇️ step 6:
I then select the lightest part of
the hair (examples circled)
or, if there doesn't seem to be a really light part,
you can select the highlighted bits of the hair
and just pull the colour up lighter yourself
🫧 step 7:
with the lightest colour, I go around
the edges and top of the head,
basically anywhere that
will touch the light
should look something like this
💿 step 8:
using the same colour as the
edges of the hair, I go through
and add some small fly away
hairs just to give volume
below are some guidelines
for what I did

should look something like this:
🎧 step 9:
this step is completely optional but
I find it can elevate the look sometimes.
i select a colour from the chest area
and set a new layer on multiply.
i then go through and select areas where
the hair meets the skin or body.
i just adds some shadow and makes
the hair seem volumous sometimes but
isn't always necessary so use it or don't,
it wont effect the hair dramatically.
after that's done, just lower the
opacity to where it looks good.
below I've added some guidelines
and that's it! you're done!
here's the finished result (bare in mind,
this is after I edited the face etc)

but, that's how I do it! i hope
this has helped in some way and
let me know if you have any questions
or need any clarification !

Bạn đang đọc truyện trên: TruyenTop.Vip